Checks in order
Each check below is visual or at the wall control. None of them asks you to pull the emergency release, lift the door, or touch spring hardware. If you hit a step that reads stop and call, stop there and call.
1. Power at the opener and the breaker
If the light on the motor head is dark, the outlet has lost power. Try the breaker at the panel first. Do not reach up to unplug the opener while the door is open or hanging. If the breaker brings the light back and the door still refuses, keep going.
2. The lock switch on the wall control
Most wall controls have a vacation or lock mode that disables the remotes and keypad. The button is small and easy to press by accident. If the lock light is on, press the button once and try the remote again.
3. Sensor lights, blocked beams, snow or low sun
The two small sensors near the floor each show an indicator light. When either blinks, the door will not close with the remote. Look along the beam for a leaf, a shovel, a clump of snow on the bracket, or late sun shining into the lens. Sensor alignment and wiring is a technician's job once the beam is clear.
4. Remote battery and the wall button
Press the wall button. If the door moves from the wall but not from the remote, the remote is the issue. A fresh battery takes a minute. If the wall button also does nothing, move on.
5. The opener runs but the door stays
A hum or a click from the motor head with the door still almost always means a spring that has snapped. Stop here, keep clear of the opening, and call. If instead the motor runs through its full travel while the chain or trolley overhead moves and the door still stays put, the trolley on the rail has disconnected or the drive gear inside the opener has stripped; the technician handles that on site, and the right page is opener repair. Do not pull the release handle to try to force it.
6. The door starts and then reverses
If the door begins to close and heads back up without touching the floor, the sensors or the opener's reversal setting are usually the reason. A dirty lens, a bracket knocked out of true, or a close limit set to the wrong height can each cause it. Note the height where the door turns around.
7. Closes only with the button held
If the only way to close the door is to hold the wall button, the opener is in override mode because it does not trust its own sensors. That is a safety behavior. Call before using it that way for more than a cycle or two.
8. A heavy or crooked door, or a cable hanging loose
Look at the closed door. If one side sits lower than the other, if a cable at a bottom corner looks slack or kinked, or if the top hangs away from the opening, stop here and call. A spring that has snapped often leaves a visible gap in the coil above the shaft, a broken lift cable shows at a bottom corner, and a door out of its track rides crooked. Keep clear of the opening.
9. The bottom seal frozen to the slab
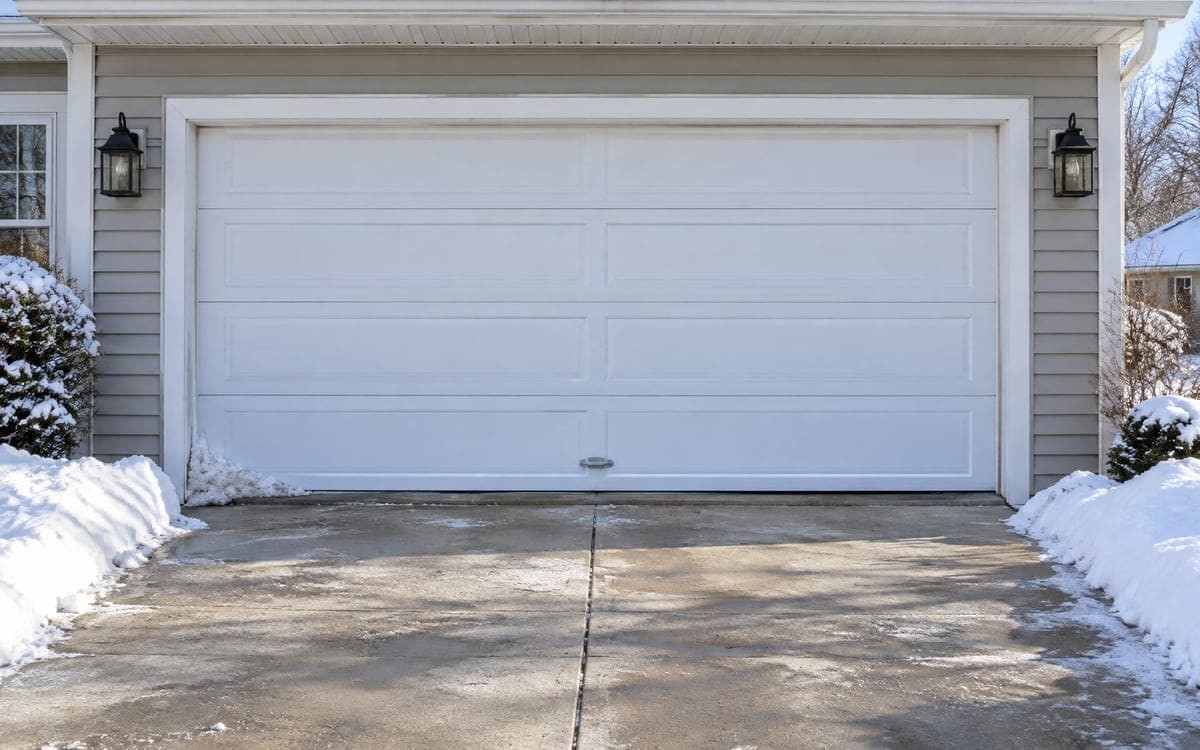
On a cold Barrington morning the bottom rubber can bond to the slab overnight. The opener tries, the seal does not let go, and the door stays put while the motor strains. Switch the opener off at the breaker, and leave the door alone. Prying at the seal or pouring water across the seam makes it worse. The right page afterward is a bottom seal frozen to the floor.
| Symptom | Likely cause | What it usually needs |
|---|---|---|
| No motor light at all | Lost power at the outlet or breaker | Reset the breaker, then an opener check |
| Opener light flashes, door still | A tripped sensor or a stripped gear | Sensor realignment or a drive gear kit |
| Door starts, reverses before the floor | Dirty, misaligned sensors or wrong close limit | Sensor cleaning and alignment, limit set at the door |
| Have to hold the button to close | Opener does not trust its sensors | Sensor repair, often wiring at the opener terminals |
| One side lower, slack cable | A broken spring or cable | Spring and cable work in a pair |
| Door frozen at the floor | Rubber seal stuck to the slab | Thaw the seam, then look at the seal |
| Opener runs, door stays | Disconnected trolley or stripped gear | Trolley reset or gear replacement at the opener |
When a fix clears it and when the opener or door is at the end
When a small repair gets the door moving
A sensor realignment, a new drive gear, fresh remote batteries, a bottom seal replacement, a new logic board: each of those is one visit and the door is back. Opener repair covers the ones that need motor-head work.
When the opener or the door is at the end
If the opener is older than its own sensors, if the logic board is a part the manufacturer no longer makes, or if a stripped gear is the third fault inside a year, a new opener costs less than another repair. The same goes for a door with cracked sections and spring hardware past its usable life. At the door we show you the repair sheet against a new opener or a new door and the choice is yours.
What our van carries for a stuck door
The van carries sensor kits with brackets and low-voltage wire, drive gear kits for the common opener gearheads, remotes and keypads, bottom seal rubber with retainer in the common widths, a logic board or two for common openers, and spring lubricant. Opener boards or odd-size sections for an older door may need an order, and the follow-up gets booked before the technician leaves.